
Vinyl floors are popular for many homeowners due to their durability, affordability, and easy maintenance. However, over time, even the toughest vinyl floors can accumulate ground-in dirt and stains that seem impossible to remove. In this guide, we will explain the most effective methods for cleaning vinyl floors with ground-in dirt, ensuring that your floors look their best and stand the test of time.
Before diving into the cleaning process, it’s essential to understand the nature of vinyl flooring. Vinyl floors are made of several layers, including a wear layer, printed design layer, and backing. This multi-layered construction gives vinyl its resilience and resistance to moisture. However, ground-in dirt can still find its way into the crevices and texture of the flooring, making it challenging to deep clean.
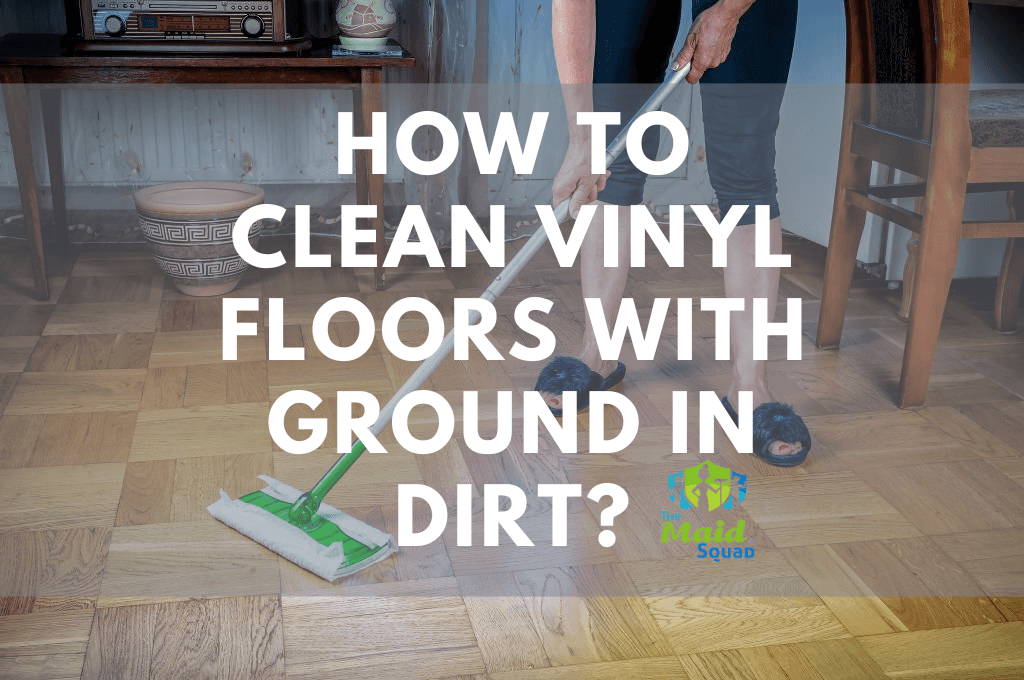
How to Clean Vinyl Floors with Ground in Dirt
Vinyl floors are an excellent choice for their resilience, but like any flooring, they require regular maintenance to stay pristine. Cleaning vinyl floors with ground-in dirt may seem like a daunting task, but with the right techniques and a bit of grease, you can restore them to their former glory.
Tools and Materials You’ll Need
Before you start cleaning your vinyl floors, gather the following tools and materials:
Tools
- Broom with soft bristles
- Vacuum cleaner with a soft brush attachment
- Microfiber mop
- Soft cloth or mop for damp cleaning
- Scrub brush with soft bristles
- Bucket
Cleaning Solutions
- Warm water
- Mild dish soap
- White vinegar
- Isopropyl alcohol
- Commercial vinyl floor cleaner
Fill The Foam For Cleaning help


Step-by-Step Cleaning Process

Follow these steps to effectively clean your vinyl floors with ground-in dirt:
1. Remove Loose Dirt and Debris
Begin by sweeping your vinyl floors with a soft-bristle broom or using a vacuum cleaner with a soft brush attachment. This will help eliminate loose dirt, dust, and debris that can scratch the surface during the cleaning process.
2. Prepare a Cleaning Solution
In a bucket, mix a solution of warm water and a few drops of mild dish soap. Alternatively, you can use a commercial vinyl floor cleaner, following the manufacturer’s instructions. Avoid using abrasive cleaners or chemicals that can damage the vinyl.
3. Test a Small Area
Before applying the cleaning solution to the entire floor, it’s essential to test it on a small, inconspicuous area to ensure it doesn’t cause any damage or discoloration. Once you’ve confirmed it’s safe, proceed with the cleaning process.
4. Damp Mop the Floor
Dip a microfiber mop or a soft cloth into the cleaning solution, wring out excess liquid, and mop the vinyl floor. Make sure not to oversaturate the floor, as excessive moisture can seep into the seams and edges, causing damage.
5. Address Stubborn Stains
For ground-in dirt and stubborn stains, use a soft-bristle scrub brush. Gently scrub the affected areas, applying a bit of extra pressure if needed. Avoid using abrasive brushes or scouring pads, as they can scratch the vinyl.
6. Rinse Thoroughly
After cleaning, rinse the floor with clean water to remove any soap residue. Again, make sure not to oversaturate the floor.
7. Dry the Floor
Use a clean, dry microfiber mop or cloth to thoroughly dry the vinyl floor. This step is crucial as excess moisture can damage the floor over time.
8. Apply a Vinyl Floor Finish
To maintain the vinyl floor’s shine and protect it from future dirt and stains, consider applying a vinyl floor finish or polish. Follow the manufacturer’s instructions for application.
Drying and Maintenance
Dry the Floor: Use a dry, clean cloth or towel to pat the floor dry. Avoid leaving any moisture on the vinyl, as it can lead to damage over time.
Regular Maintenance: To prevent future ground-in dirt, establish a routine cleaning schedule. Sweep or vacuum the floor regularly and promptly clean up spills.
Preventive Maintenance Tips
Keeping your vinyl floors clean and free from ground-in dirt is easier with preventive maintenance:
- Use doormats at entryways to trap dirt and debris.
- Place furniture pads under heavy objects to prevent scratches.
- Regularly sweep or vacuum to remove loose dirt.
- Wipe up spills promptly to prevent staining.
- Avoid using harsh chemicals or abrasive tools.
By following these steps and incorporating preventive maintenance, you can keep your vinyl floors looking pristine and extend their lifespan.
Conclusion
Cleaning vinyl floors with ground-in dirt may seem like a daunting task, but with the right tools, materials, and techniques, you can restore your floors to their former glory. Always use gentle cleaning methods and avoid abrasive materials that can harm the vinyl. With proper care, your vinyl floors will continue to shine, providing a beautiful and durable flooring option for your home.
Frequently Asked Questions
Q: How often should I clean my vinyl floors?
It’s best to clean your vinyl floors weekly to prevent dirt buildup. High-traffic areas may require more frequent cleaning.
Q: Can I use vinegar to clean vinyl floors?
Yes, you can mix a solution of one cup of white vinegar with a gallon of water for a natural vinyl floor cleaner. However, use it sparingly, as excessive vinegar can dull the finish.
Q: Is steam cleaning safe for vinyl floors?
Steam cleaning can be safe if done correctly and if your vinyl flooring is sealed properly. However, excessive moisture can damage the floor, so use steam cleaners cautiously.
Q: What should I do if my vinyl floor is peeling?
Peeling vinyl can’t be fixed with cleaning alone. You may need to replace the affected section or seek professional assistance for repairs.
Q: Can I wax my vinyl floor for extra protection?
Some vinyl floors may benefit from waxing, but it’s essential to check with the manufacturer’s recommendations. Waxing can provide additional protection and shine.
3 Responses